

Bee-Bot or Bust!
- Mister STEM

- Apr 26, 2019
- 2 min read
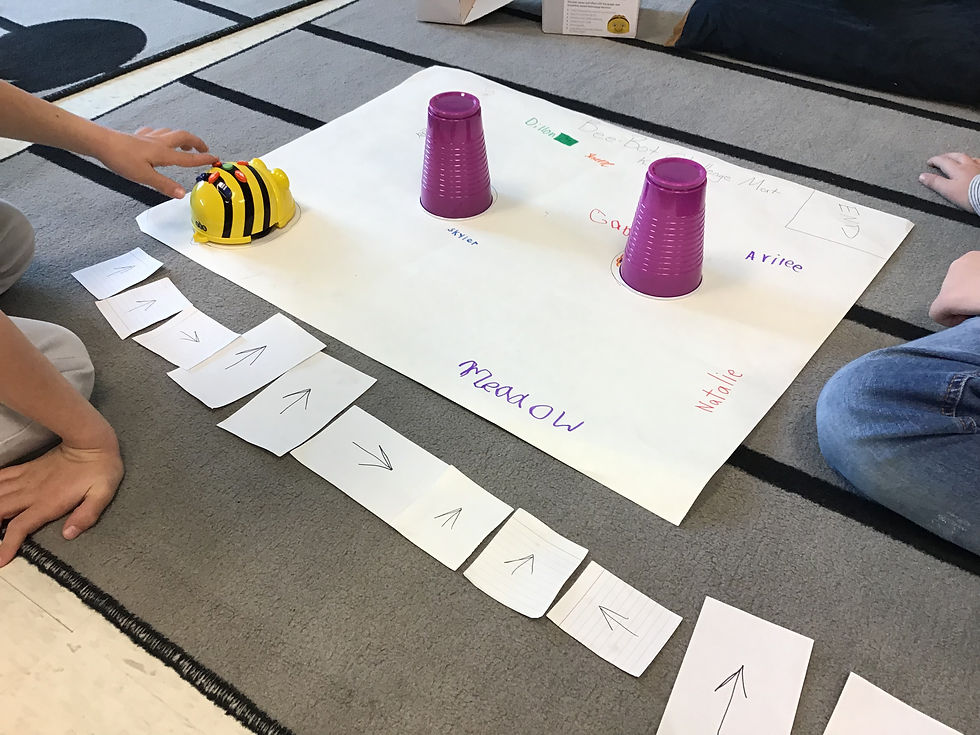
Do you have a Bee-Bot but don't want to spend $160 on a mat? Creating your own Bee-Bot games is easy and cheap. I have created three different types of mats. The first one has no grid on it. If you take a sharpened pencil, place it in the hole at the back of Bee-Bot and program it to go, the pencil will mark the poster board allowing you to create a path that students need to follow. I pair this type of mat with arrow cards that students have to use to write the code that they are using to program Bee-Bot. The second type of mat has no lines and requires the students to avoid obstacles. This mat is more challenging than the first and an example is shown in the photo. The third type of mat requires that you draw a grid on the poster. On a standard size poster board, you can fit twelve 15"x15" squares in a 4x3 array. By using this square size Bee-Bot can travel perfectly between them without going over the lines. What I have done is created a game where the students have to navigate the mat while going to specific spaces and avoiding others. The ultimate goal is for the bee to get back to the "hive" with whatever you require it to "collect". I am also having 2nd-grade students create Bee-Bot games using this method. It is a time-consuming project but it works on measuring and critical thinking skills. It will also provide me with a variety of different games that I can use with other classes. A Bee-Bot may be expensive but after the initial investment, the cost can be extremely low. And don't forget to decorate your challenge mats! If you have any other ideas of how to use a Bee-Bot please share them in the comments!
Required Materials:
1st Mat Type: pencil, bee-bot, poster board.
2nd Mat Type: bee-bot, pencil, obstacles, poster board.
3rd Mat Type: bee-bot, pencil, poster board, ruler.
Comments